This option will make it easier for you to control multiple locations where classes are held.
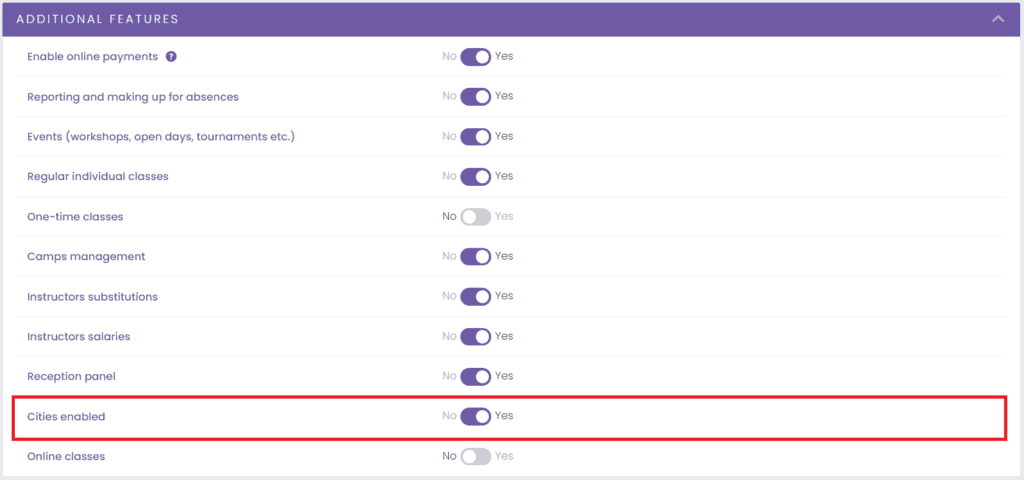
To activate this functionality, go to General settings -> Additional features. There you will find the option Enable cities, which you should activate by moving the slider.
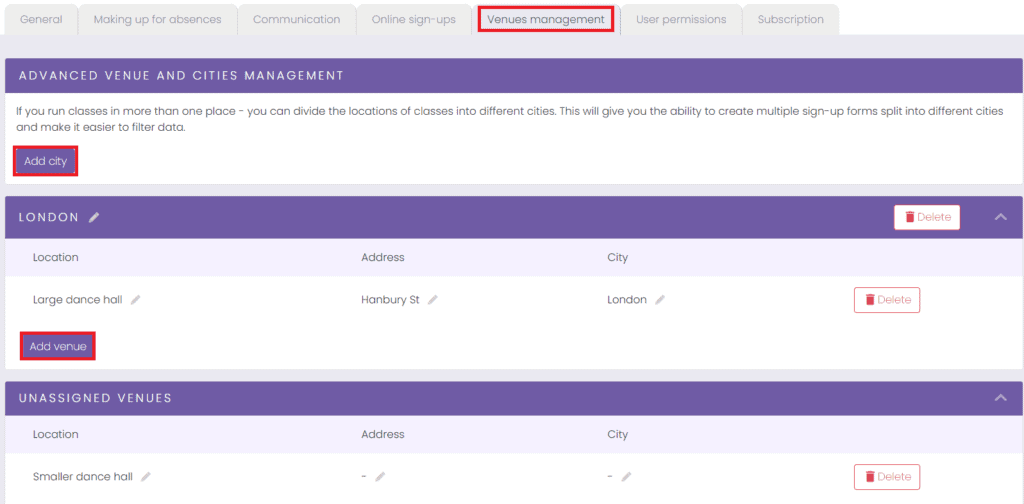
Then, after refreshing the page, a new tab will appear in Settings – Venues management.

Once there, you will be able to add cities, locations and addresses.
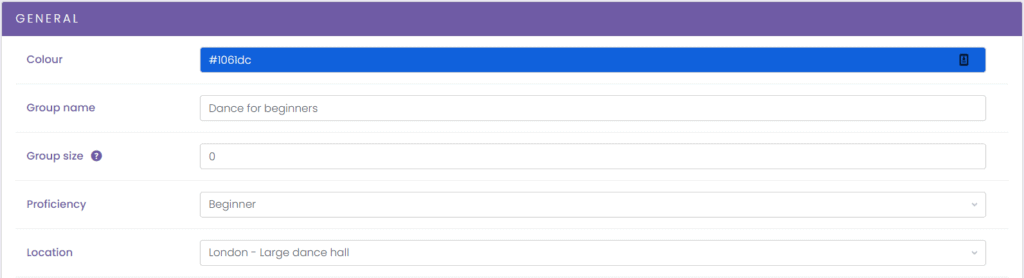
Then, when creating edits/groups, the locations you have entered will be displayed in the Location field.
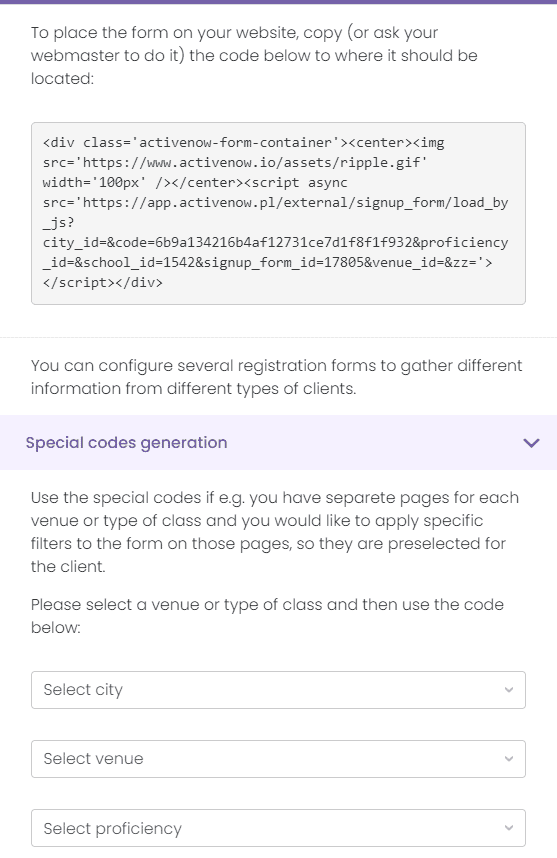
Once signed up, you will have the ability to filter participants by both locations and cities. You can also create separate sign-up forms by selecting a specific city.